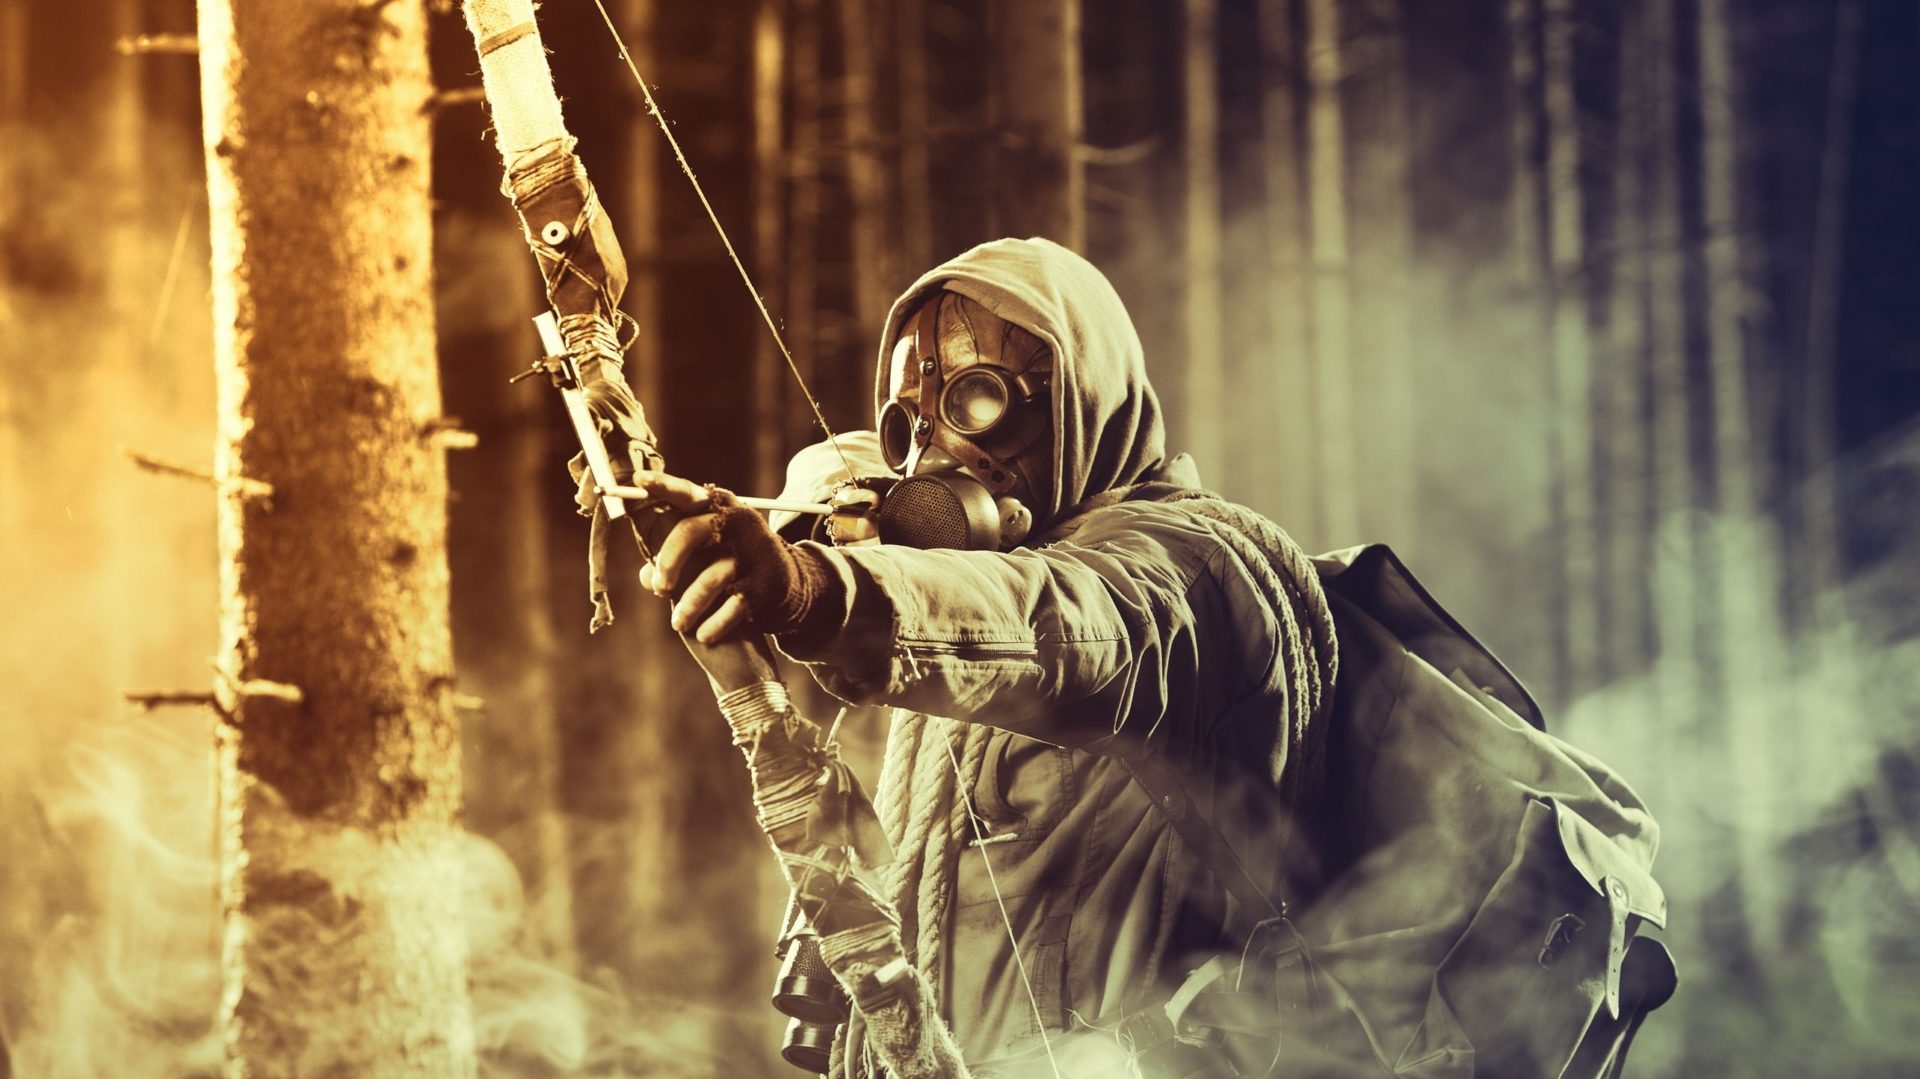
A survival kit is an important part of any emergency plan. It includes items that will keep you safe and comfortable until help arrives. You want to pack everything you and your family will need such as first-aid supplies and survival tools.
Why you need a survival kit.
You never know when you might need a survival kit. It’s important to prepare yourself for any situation as best you can. Whether you’re hiking through the woods or camping out under the stars, you need to make sure you have the right gear to stay safe and comfortable.
While it may be impossible to put together the perfect survival kit, you can come close if you plan it out and pack the right gear and tools. You can either purchase a ready-to-use survival kit or you can make your own bag and piece everything together one item at a time. Personally, I’ve done it both ways and prefer to do a mixture of the two. I use some items from ready-made survival kits and put them with individual items that I purchase depending on the activities I plan on doing. For example, I may pack different items if I’m going camping with a group of people versus hiking by myself. You have to decide if you are planning for yourself, your family or a group of friends when choosing what goes into your survival backpack.
Since you can easily buy a survival backpack in stores or on Amazon, I took the time to show you how to make your own survival bag by using a tactical backpack and first-aid items from other kits to make the best survival kit you can that will cover nearly every possible situation you may encounter.
Benefits of making your own survival bag.
There are several benefits to having your own survival kit. It’s easy to do and absolutely worth it to get the best deals on items and there’s great satisfaction in customizing your own bag:
- First, you won’t have to rely on stores to provide you with the supplies you need.
- Second, you can customize your kit to meet your needs. Everyone has different needs such as medications, tools, and regional items such as bug spray.
- Third, you can save money by purchasing items individually instead of buying them as part of a larger package. Many companies overcharge for basic first-aid and survival items and put them in an attractive package that you don’t really need.
- Fourth, you can avoid paying sales tax on purchases made at retail stores.
- Finally, you can keep your kit organized so you can find everything easily.
The first step in creating your own survival kit is deciding what you want to include. You should consider the following items: water purification tablets, compass, flashlight, whistle, matches, knife, fire starter, signal mirror, waterproof container, first aid kit, map, compass, handkerchief, sewing kit, fishing kit, sleeping bag, tent, rain poncho, tarp, ground cloth, plastic sheet, blanket, pillow, towel, toothbrush, soap, comb, brush, razor, nail clippers, lighter, candle, book, journal, pen, pencil, notebook, pair of gloves, hat, scarf, bandana, headlamp, flashlight, canteen, spoon, fork, cup, etc.
How to build your own survival bag.
Now that you’ve decided to build your own survival kit, you will need to decide on a bag to store everything in. I like to use tactical backpacks because they often have MOLLE attachments and they’re made from tough material. Some people prefer to use regular backpacks so they don’t draw attention. Many companies make what is known as “gray man” backpacks that blend into a crowd of people easily and don’t draw attention. I like Mystery Ranch backpacks for this. Either way, make sure you choose a good, sturdy backpack that has plenty of room to add more gear.
You need to make sure that you have everything you need to survive in case of an emergency. This means having a first aid kit, water purification tablets, fire starters, a compass, and other essentials. If you’re going camping, you might also want to pack some food and cooking supplies. You will want to spend time to organize your gear into separate compartments. Purchasing individual bags to go inside your backpack will make it much easier to keep everything in place so that you know where it is to grab it quickly.
The best thing about building your own survival bag is that you get to decide what goes into it. For example, if you know that you’ll be hiking in the mountains, you should include extra clothing and footwear. On the other hand, if you plan to camp in the desert, you’ll want to pack plenty of water. You can even prep your bag to keep next to your door if you live in a crowded city in case you need to leave quickly.
Include first aid items and tools.
A survival kit should include basic first aid supplies such as bandages, gauze pads, and antiseptic ointment. I suggest purchasing a great first-aid kit and attaching it to your survival backpack either by the MOLLE attachments or tucked inside. This will take care of your first-aid needs and will save space.
As far as survival tools, you should also include a flashlight, compass, waterproof matches, and a knife to cover the absolute basic necessities. These items will be useful if you get lost or stranded somewhere. I would recommend adding tools such as a multi-tool and a few handheld tools like pliers, screwdrivers, and a box cutter. Multi-tools are great for saving space and providing a few useful tools on the fly, but I like to have a stronger pair of pliers that won’t break through continual use.
Here’s a short list of some essentials items and tools you should always have in your survival kit:
- Firestarter
- Lighter
- Waterproof matches
- Light sticks
- Crank radio
- Water purifier
- Tweezers
- Pliers
- Moleskin to protect your feet from blisters
- First-aid kit
- Food pack that can mix with water and has plenty of nutrients
- Water bottle
- Water purifier
- Screwdrivers – both types
- Flashlight – you can get solar-powered lights
- Medications
- Pain killers
- Hydration packs
- Protein bars – monitor expiration dates
- Carabiner clips to attach additional gear
- Knives
You can add as much gear and first-aid supplies to your survival kit until you feel completely prepared for anything. Keep in mind that everything adds weight to your bag and you want to make sure you can carry it comfortably.
Make survival kits for different scenarios.
While it may be possible to make a survival kit that can handle every single scenario, you can always build multiple bags to cover different emergency situations. There’s a company called Redfora that makes a complete earthquake bag that is also suited for floods, wildfires, hurricanes, and other emergency disasters. It features sealed packets that include food, water, personal hygiene, tools and first aid, shelter, and warmth, and more. Depending on your location, you may want to buy a survival backpack that is specifically designed for earthquakes and other natural disasters that frequent your area.
The area where I live thankfully doesn’t experience earthquakes or wildfires, but we still have the occasional hurricane that can knock out power for weeks and cause significant flooding in the area.
I always recommend making a 72-hour bug-out bag that you can quickly grab and go, as well as a larger bag that contains enough survival gear for you and your family for longer periods of time.
In Conclusion:
It takes practice and research to make the best survival kit possible. Hopefully, this article gave you some great tips to help you through the process. It is important to test all of your gear before you depend on it and I think you should re-test your gear every 3 months or so. Also, be sure to check the expiration dates on expirable foods to make sure you stay safe and ready for anything.

Jerome is an avid outdoorsman who moonlights as an attorney when he’s not creating the world’s greatest online content.
Related posts:
- 8 Best Emergency Survival First Aid Kits of 2022 […]...
- Gerber Bear Grylls Ultimate Survival Knife […]...
- The 7 Best Tactical First Aid Kits of 2022 […]...
- First Aid Kit Checklist for Camping […]...
- The Ultimate Battery-Powered Water Purifier For Emergency and Disasters […]...
- 5 Tips for Choosing the Right Hiking Gear […]...
- MPOWERED Luci Beam 2-in-1 Headlamp and Flashlight Review […]...
- 5 Tips for Planning the Perfect Hiking Trip […]...
- Kershaw Survival Knife Review […]...
- S.R.T. Survival Rescue Tool Review […]...
- Best Survival Necklaces and Lanyards […]...
- LifeStraw Survival Water Filter Review […]...


